
Lay the second 4 x 9-inch lining piece on top with the right sides together and sew along the top edge.
Turn the pieces right side out, press, and top stitch along the top.
Sew a line directly down the middle and on the sides to create card slots.

Baste your pocket piece (above) onto the right side of your last 4 x 9 lining fabric. This creates the lining for your money pocket.
Line them up along the bottom and only baste along the sides and the bottom. This will create the dollar bill pocket.
The 4 x 9-inch lining piece will stick out above your pocket piece.
Follow the interfacing directions and attach the exterior fabric to the wrong side of the wallet.

Place the exterior piece and the pocket pieces, right sides together.
Sew around the outside, leaving about a 3-inch gap in the bottom to turn. Make sure to backstitch around your opening.
Turn, pulling the fabric out through the hole so the right sides are facing out.
Press the gap and top stitch all the way around, making sure not to sew up the money pocket.
Last but not least, accessorize it!
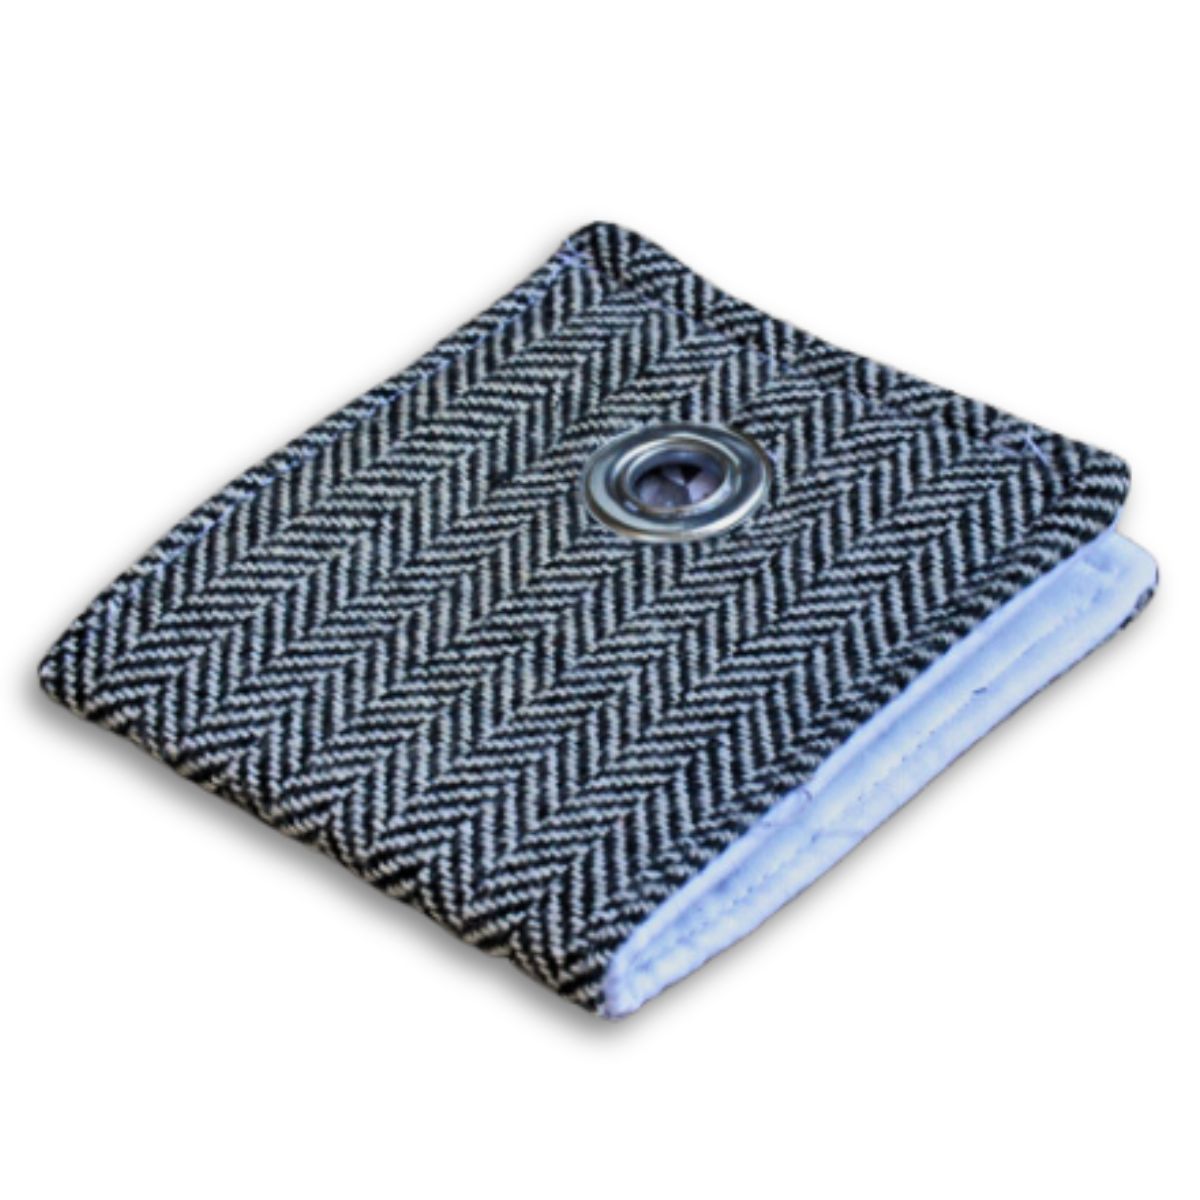
I chose to put a grommet in the front just for a little something extra, but you can leave it the way it is or do something completely different. Have fun with it!
