• Home
  • Blog
  • Opinion
  • Lifestyle
  • Health
  • Culture
  • About Us
  • Contact Us
No Result
View All Result
Celebrity Buzz Blast
  • Home
  • Blog
  • Opinion
  • Lifestyle
  • Health
  • Culture
  • About Us
  • Contact Us
No Result
View All Result
Celebrity Buzz Blast
No Result
View All Result
Home Health

Make a No-Sew Braided Fabric Necklace – The Crafty Blog Stalker

celebritybuzzblast by celebritybuzzblast
January 14, 2025
Reading Time: 8 mins read
483 10
0
Make a No-Sew Braided Fabric Necklace – The Crafty Blog Stalker


This post may contain affiliate links. For more information, please see our disclosure policy.


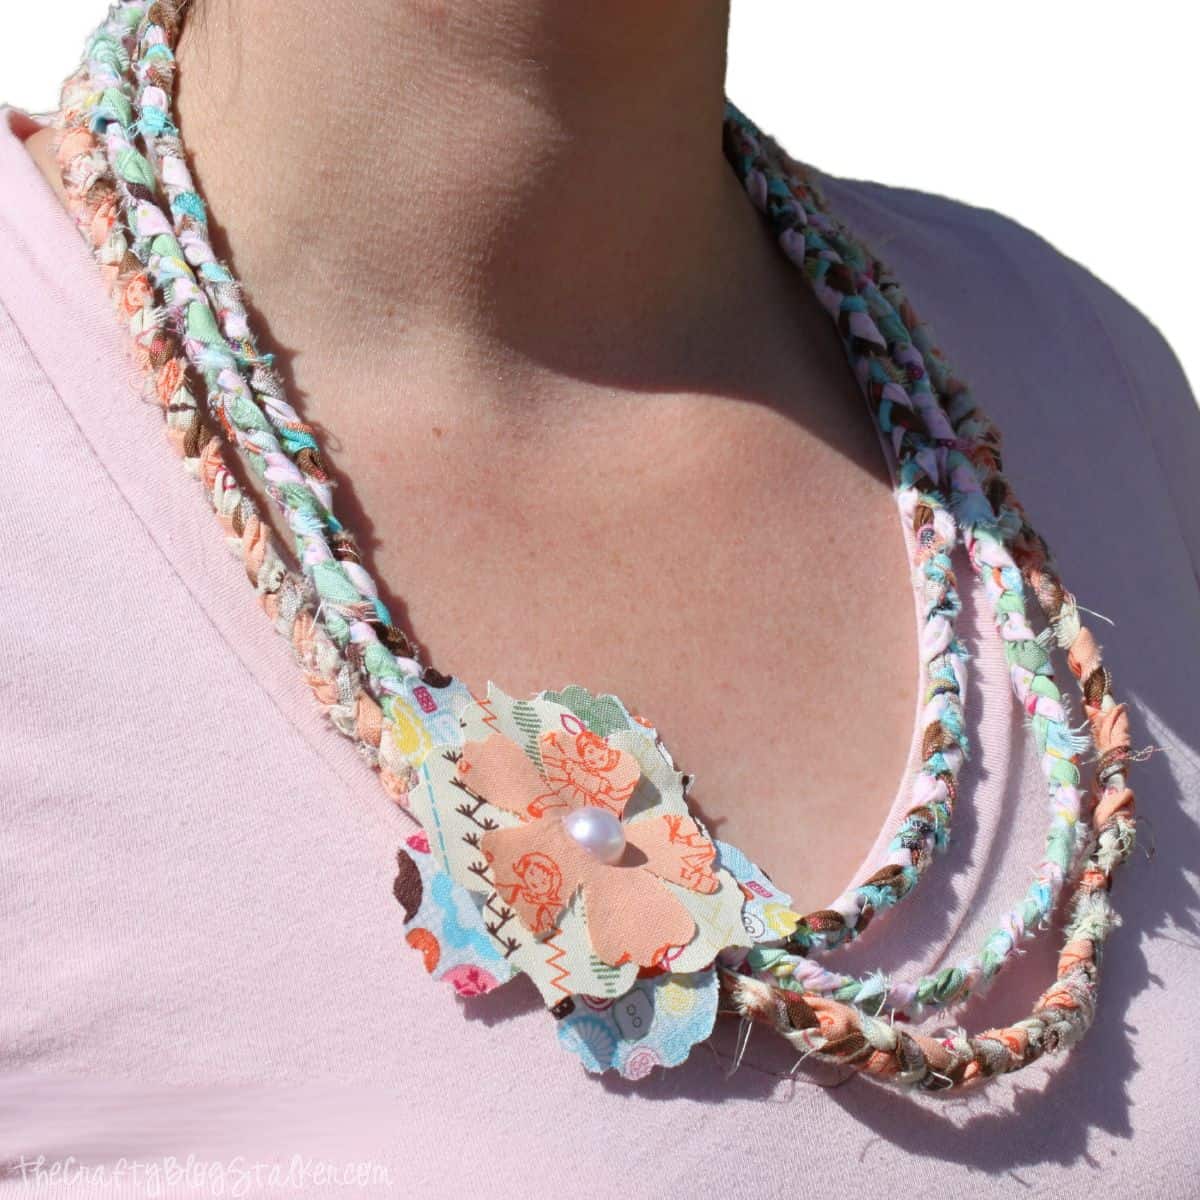
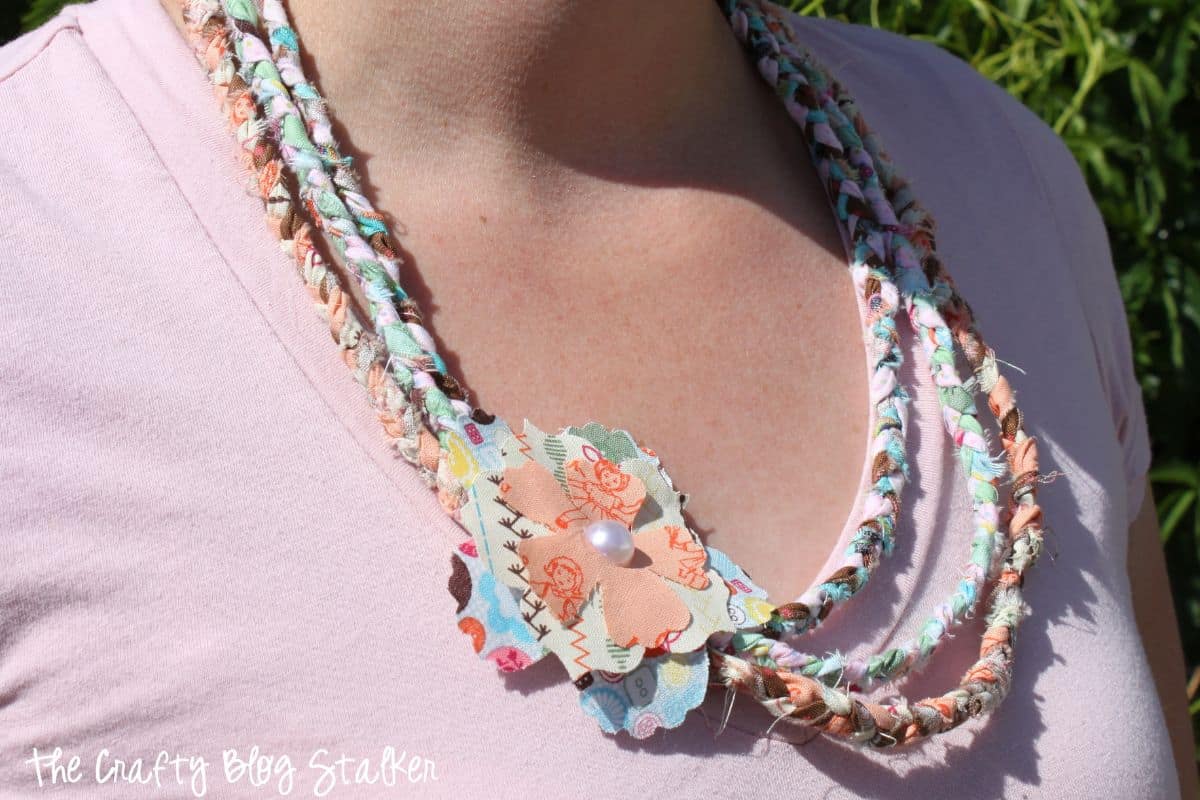
No sewing is needed! Learn to braid fabric into a necklace full of charm and style. Create unique, wearable art from scraps!

Close-up of a handmade braided fabric necklace, featuring colorful, soft fabric strips twisted together to create a multi-strand look. The necklace has a decorative fabric flower embellishment with a pearl center, adding a charming, rustic touch. The necklace is worn over a light pink shirt, giving it a casual, boho vibe.

Want to make a cute accessory that’s both stylish and eco-friendly?

This no-sew braided fabric necklace is the perfect answer!

It’s not only a fantastic way to add a handmade touch to your wardrobe but also to use up those leftover fabric scraps from other projects.

Let’s create a fun and fashionable piece you can wear proudly—or even gift to a friend.

Jump to:

Supply List

Close-up of Sizzix Bigz L Fun Flowers die by Stampin' Up! alongside colorful, patterned fabric, showcasing crafting tools and materials for fabric die-cutting projects.

Braid Fabric Strips

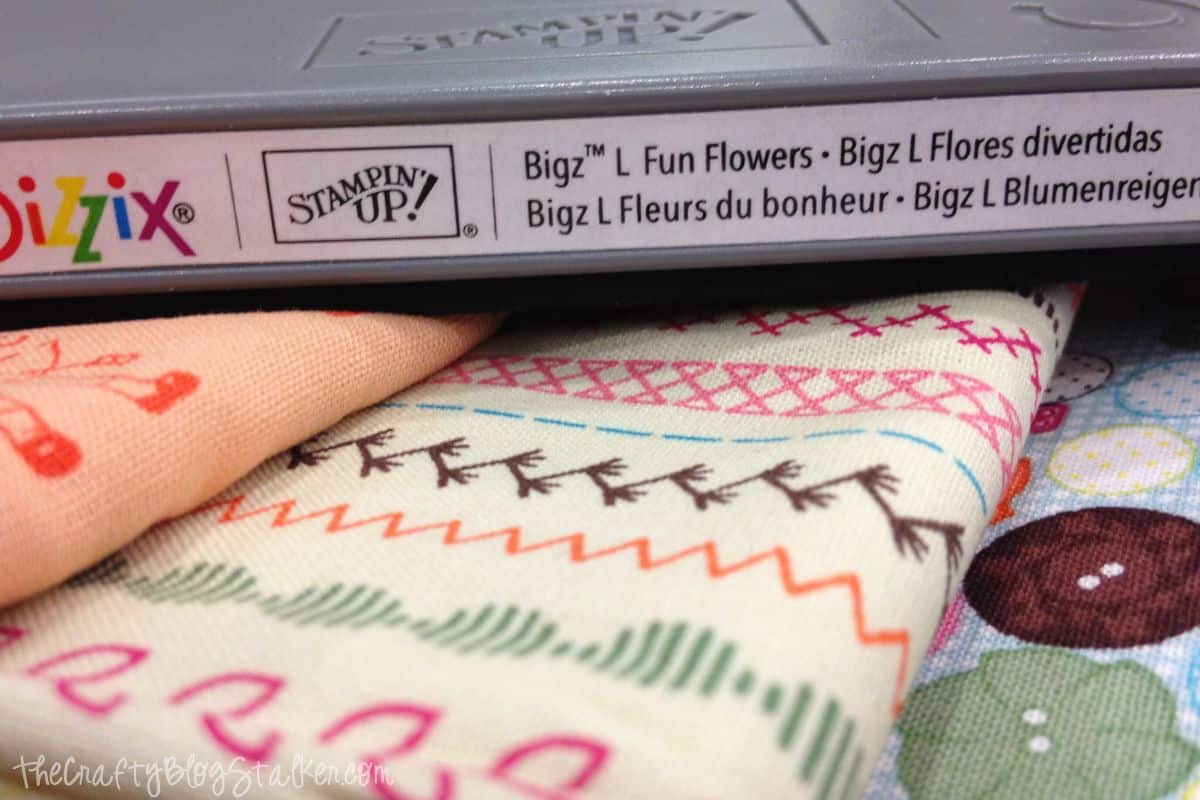
Begin by selecting the fabrics.

Using scraps doesn’t necessarily mean that all the fabrics will match perfectly, but you’ll be surprised how well the necklace looks when finished.

A colorful assortment of fabric patterns featuring polka dots, circles, vintage sewing illustrations, and playful designs, perfect for crafting and sewing projects.

Instead of cutting the fabric into strips, simply tear your fabric into strips.

Find the longest side of the piece of fabric, snip about an inch in about 1 inch, and then tear it down the rest of the length of the fabric.

Long strips work best, but they can be tied together if needed.

Braid 3 strips of fabric together to make one rope. I found it easiest to use a binder clip to hold the ends together while I braided.

A close-up of braided fabric strips in pink, brown, and blue polka dot patterns, secured at one end with a black binder clip, perfect for DIY and crafting projects.

The necklace can be as long or as short as you want.

I braided three ropes and increased the length of each by two inches.

I would have liked the difference in length to be bigger, but play around with it and see what you like best.

Three colorful braided fabric strips in various pastel and earthy tones, each with frayed edges, showcasing a DIY textile crafting technique.

Make the Necklace

Align the ends of the 3 braided ropes and hot glue them together.

Do this to both ends.

Close-up of the end of a colorful braided fabric strip, showing frayed edges and glued layers in shades of pink, green, brown, and orange for a textured craft look.

Bring the two ends together and attach them with hot glue. It’s okay if it’s not pretty.

Close-up of the glued end of a braided fabric strip, showing a mix of colorful fabric pieces in orange, green, and pink, with visible glue spots adding texture and shine.

Inspiration

I found this DIY jewelry idea on the blog Smaller. I loved how her necklace looked, so I made my own craft tutorial with a few minor adjustments.

Colorful multi-strand braided fabric necklace made from scrap fabric strips in coral, turquoise, and beige, worn over a white shirt for a casual, boho look.

Jewelry Making Essentials

  • Jewelry Pliers are a necessity when it comes to jewelry making.
  • Good quality Jump Rings are a necessity in many different sizes and metals.
  • A Non-slip Bead Mat keeps your beads, findings, and tools in front of you without rolling away!
  • The more you DIY Jewelry, the more little beads and things you will accumulate. Keep them organized with Plastic Organizer Containers.


Source link

RELATED POSTS

How to Refinish a Dresser Step by Step – The Crafty Blog Stalker

Loop a Headpin Easily for DIY Jewelry – The Crafty Blog Stalker

Hushpuppies

Share296Tweet185Share74
celebritybuzzblast

celebritybuzzblast

Celebrity Buzz Blast

2024 | All Right Reserved | Celebrity Buzz Blast

Navigate Site

  • Privacy Policy
  • Terms & Conditions
  • Subscription

Contact Us: [email protected]

Social icon element need JNews Essential plugin to be activated.
No Result
View All Result
  • Home
  • Blog
  • Opinion
  • Lifestyle
  • Health
  • Culture
  • About Us
  • Contact Us

2024 | All Right Reserved | Celebrity Buzz Blast

Welcome Back!

Login to your account below

Forgotten Password?

Retrieve your password

Please enter your username or email address to reset your password.

Log In
  • Subscribe