
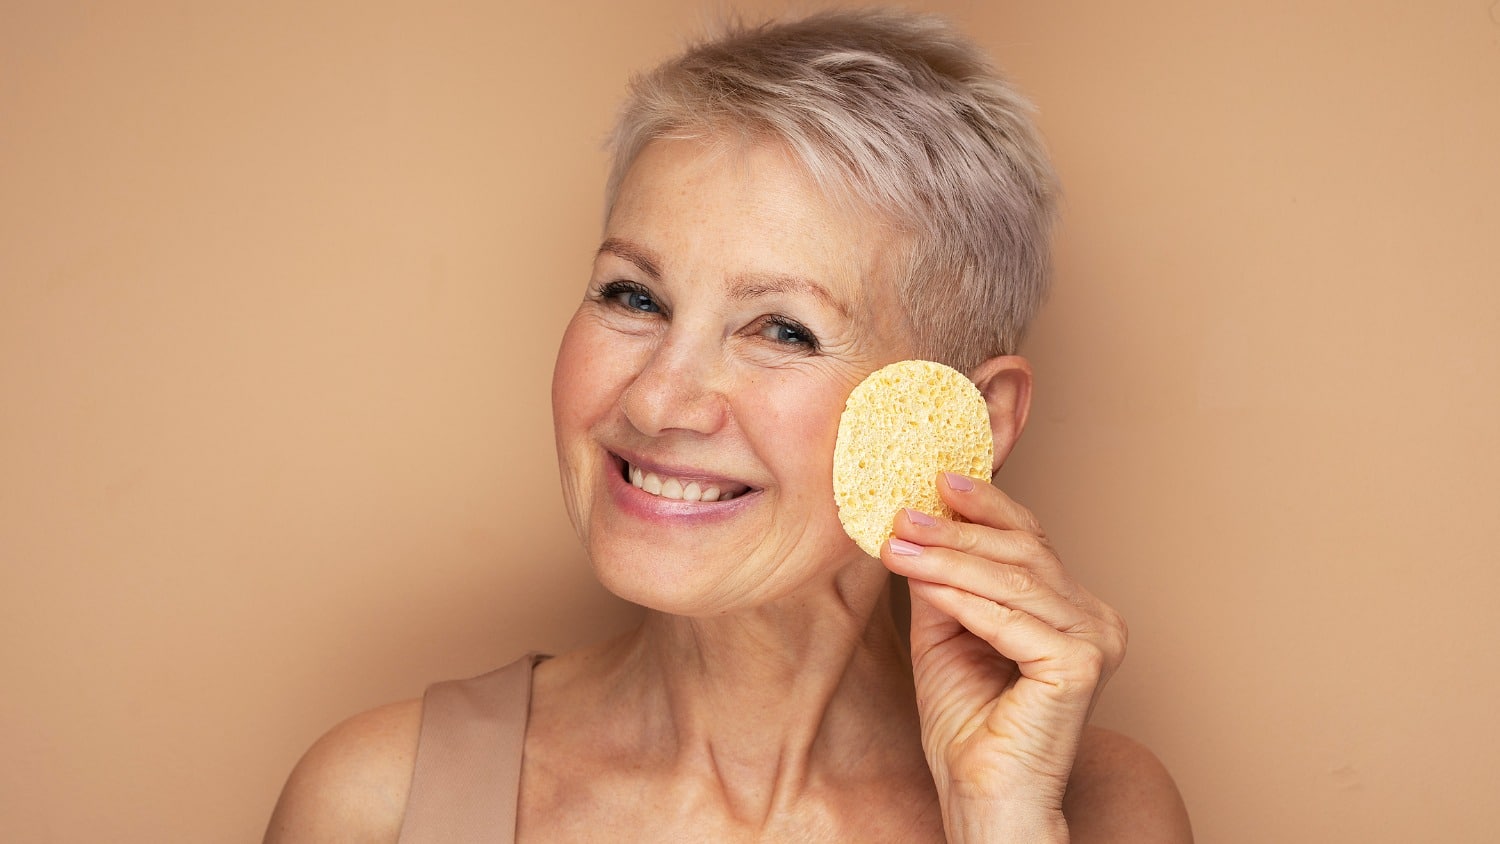
The other day, I was running late and had about 15 minutes to throw on some clothes, whip on some makeup and hop in the car to make it to a meeting on time. When I started to apply my face makeup, the first thing I saw on my makeup counter was a sponge, which I promptly grabbed.
I dotted on about four drops of foundation and then starting patting it in with that dampened makeup sponge. That’s when I stopped in my tracks and looked rather like a deer caught in headlights. That makeup application looked flawless.
Now, although I love using a sponge as a final touch in my makeup routine, when I first apply makeup, I’m usually a tried-and-true makeup brush gal. But, that quick encounter with my makeup sponge was a wonderful reminder to me of all the great ways we can create flawless, flattering makeup coverage that works especially beautifully on our mature skin.
So today, I’ll share with you six different ways to create gorgeous, flattering non-cakey coverage that can make our skin look radiant. I’ll reapply my skin prep before each new look and use the same makeup sponge, foundation or concealer.
Look #1: Foundation
Let’s start with the look I used that day when I was racing to get ready for the meeting. It’s probably a technique which many of you may already use. With this first look, you can achieve a lighter or medium coverage depending on how much foundation you apply and how much you sheer out the foundation with the sponge.
I’ll apply exactly three dots of foundation to one side of my face first. Then I’ll take my makeup sponge, run it under water and squeeze it out and give it one more squeeze with a paper towel wrapped around it so the sponge is only very slightly damp. I’ll tap the sponge into the foundation dots and continue tapping it all over my face.
There are three things that make this foundation look work so well for our mature skin. First, we’re using a very small amount of foundation. Second, we’re sheering out that foundation by using a dampened makeup sponge which means we’re far less likely to create a cakey foundation look. And third, we’re adding moisture to the skin which makes our skin appear more radiant.
Look #2: Concealer
On the other side of my face, we’ll go with the second method that will provide a little more coverage. Instead of foundation, I’ll apply concealer. My concealer of choice today is Natasha Denona’s Hy Glam Concealer which is one of my all-time favorites because it gives fantastic coverage.
Although this concealer is pricey – at $30.00 – to me, it’s absolutely worth it due to how creamy and hydrating it is as well as the great coverage it provides. I’m going to once again apply three dots and then tap it in with my very slightly damp sponge. In the video, I’ll compare each side of my face so you can judge which one you think looks better.
Be sure to check out Elise’s YouTube channel which specifically focuses on makeup tips, techniques, and product reviews for those of us 50+. Don’t forget to subscribe!
Looks #3 and #4: Adding Facial Oil
This time on the left side of my face I’ll combine three dots of my foundation with two dots of a facial oil. This technique will give a little more glow to the skin. On the right side I’ll dot on three drops of concealer along with two drops of facial oil and then tap it into the skin. This will add more coverage and glow than we had with Look #2.
Once again, I’d love to get your input as to which side of my face you feel looks better: the left side where I combined foundation with facial oil or the right side where I combined concealer with facial oil.
Looks #5 and #6: Adding Highlighter
Now onto the final two looks. Once again in Look #5 I’ll go with three drops of foundation first, but this time I’ll mix in two drops of L’Oreal’s Lumi Glotion Highlighter on the left side. And finally, for Look #6, on the right side, I’ll combine our standard three drops of concealer with two drops of highlighter.
L’Oreal’s Lumi Glotion is an OG favorite that comes in five shades. I have shade 901 which is Fair. In the video I’ll show a close up of the left side first where I combined foundation with the highlighter and the right side where I used concealer with highlighter. Which side do you prefer?
Below is a photo of all six looks so you can see a comparison. However, to get the very best idea of how each of these looks turned out, it will be more helpful to watch the video.

I used one foundation throughout this video, but as we all know, finding that right foundation that ticks all the boxes can be a real challenge. So if you’d welcome some tips on how to find your perfect foundation, I think you’d find this video to be especially helpful.
You can also read this article: Must-Know Tips to Find Your Perfect Foundation.
Let’s Have a Conversation:
How do you apply your foundation so it doesn’t look cakey? Have you ever stumbled on a great application method by accident? Do you feel there’s an overall winner for the best look? Which look do you feel would work the best for you?