• Home
  • Blog
  • Opinion
  • Lifestyle
  • Health
  • Culture
  • About Us
  • Contact Us
No Result
View All Result
Celebrity Buzz Blast
  • Home
  • Blog
  • Opinion
  • Lifestyle
  • Health
  • Culture
  • About Us
  • Contact Us
No Result
View All Result
Celebrity Buzz Blast
No Result
View All Result
Home Health

Budget Friendly DIY Crafting Table with Kallax IKEA – The Crafty Blog Stalker

celebritybuzzblast by celebritybuzzblast
February 12, 2025
Reading Time: 8 mins read
473 20
0
Budget Friendly DIY Crafting Table with Kallax IKEA – The Crafty Blog Stalker


This post may contain affiliate links. For more information, please see our disclosure policy.


Create the ultimate DIY crafting table with IKEA Kallax shelves. They are affordable, stylish, and packed with storage to organize your creative space.

A DIY crafting table made from white cube storage units with a stained wooden top, providing ample workspace and organized storage for craft supplies and materials.

Is your craft your escape too? My craft room is my favorite spot in the house!

It’s where I spend hours creating projects and writing tutorials to share with you.

Since I spend so much time there, I needed a table that was both functional and, of course, pretty!

This was my craft room after doing major cleaning and organizing (which I shared in my craft room post).

Two plastic folding tables set up in a craft room with a yellow wall, holding various supplies like markers, a soda bottle, and a storage bin filled with vinyl rolls.

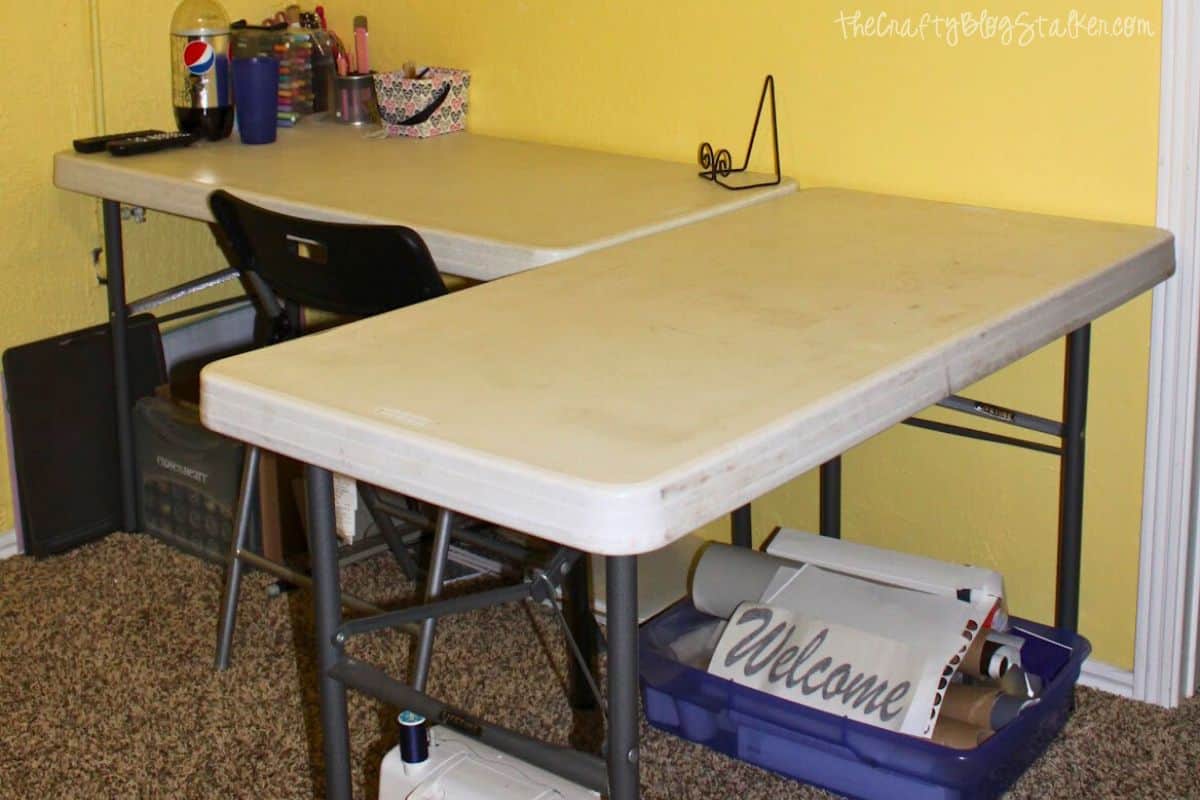
The room was better, but it still seemed cluttered. Those folding tables are just ugly!

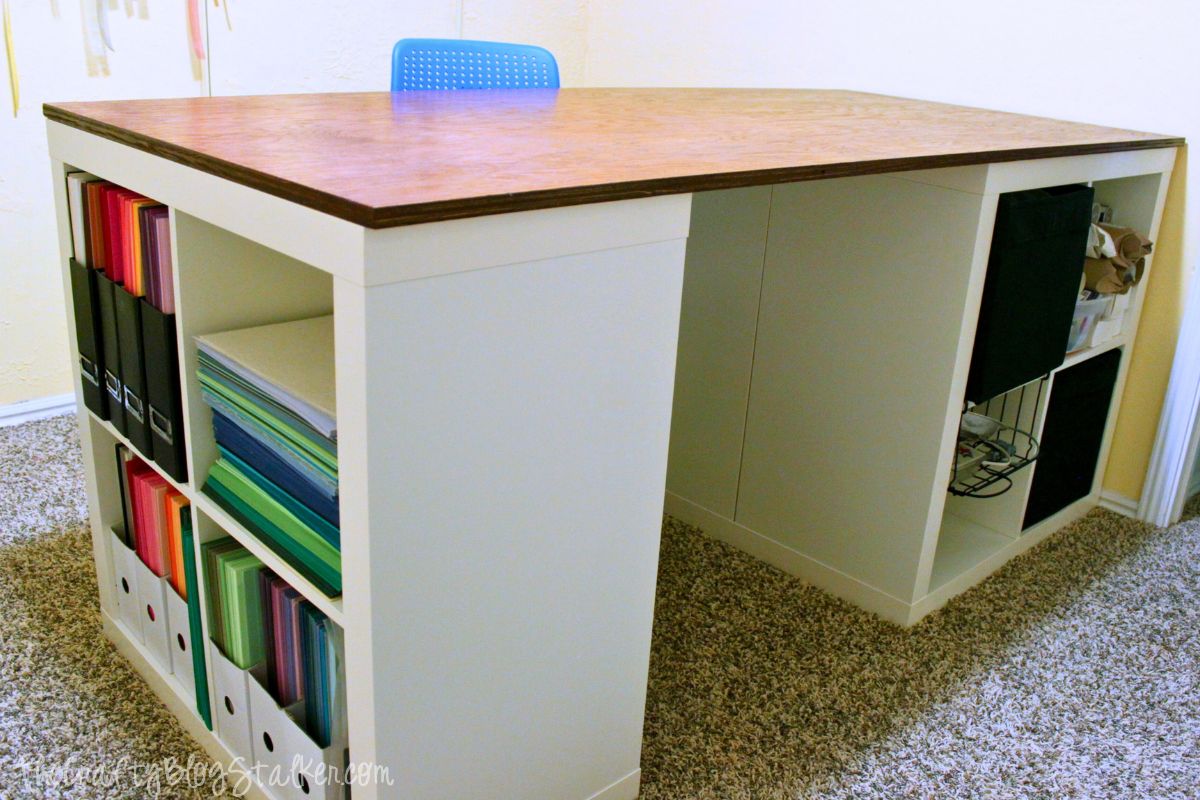
So, I decided to build a budget-friendly crafting table using IKEA Kallax shelves. It has plenty of storage and is the perfect setup for all my creative chaos!

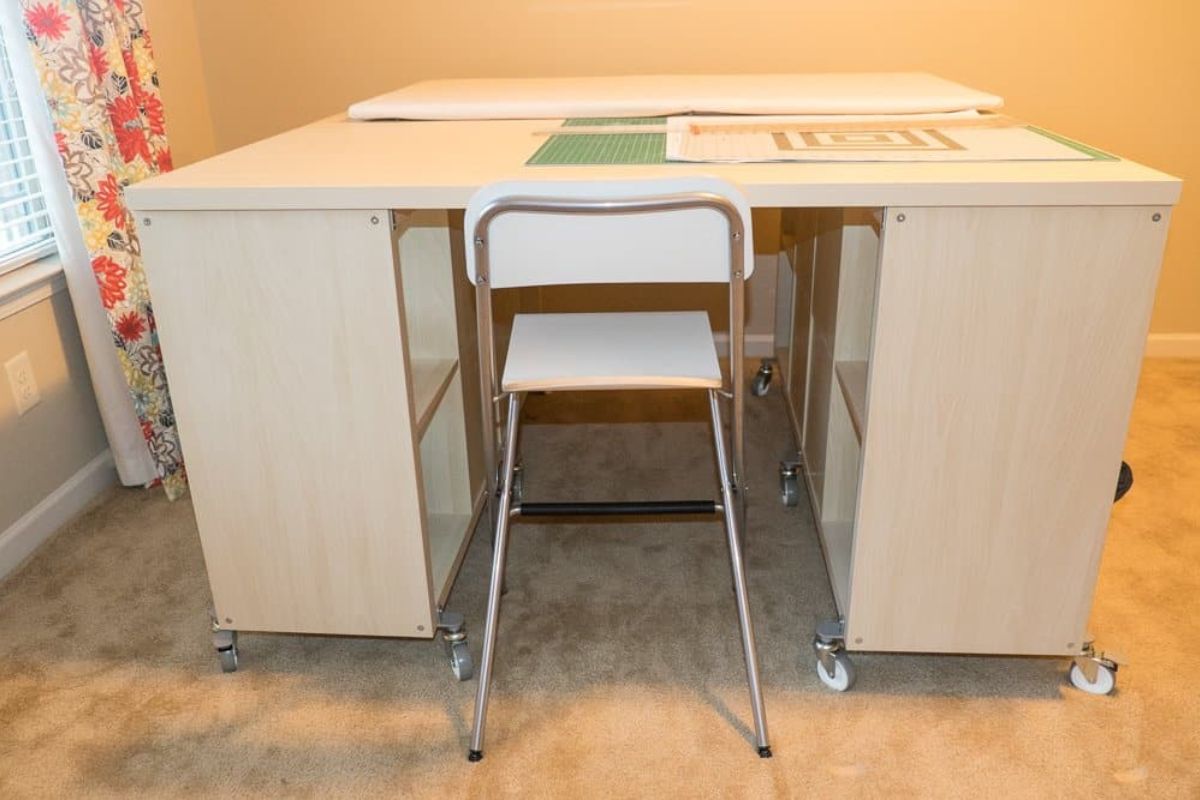
I had been buying this craft table from IkeaHackers.net for a long time.

A DIY crafting table made from KALLAX storage units with a white tabletop and caster wheels for mobility, featuring open shelves for organized craft supply storage.

Over Christmas break, my husband asked me what I wanted for my Birthday (December 30th), and I went straight to this table and said, “This.”

Later that day, we were at Ikea, and before I knew it, 3 Kallax boxes were on our cart. Yay!

Jump to:

Supply List

Some links may be to similar items when exact items couldn’t be found online.

Three stacked cardboard boxes containing unassembled KALLAX shelves, ready for assembly and use in a DIY project or home organization setup.

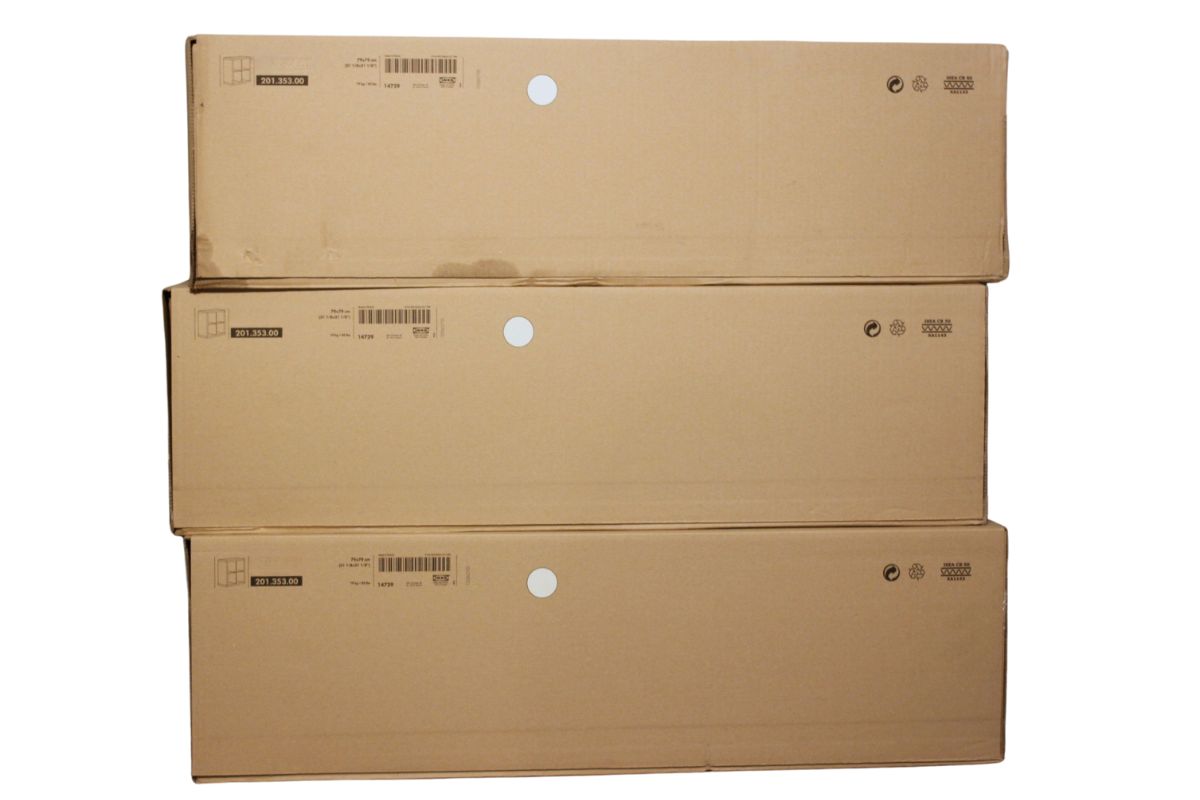
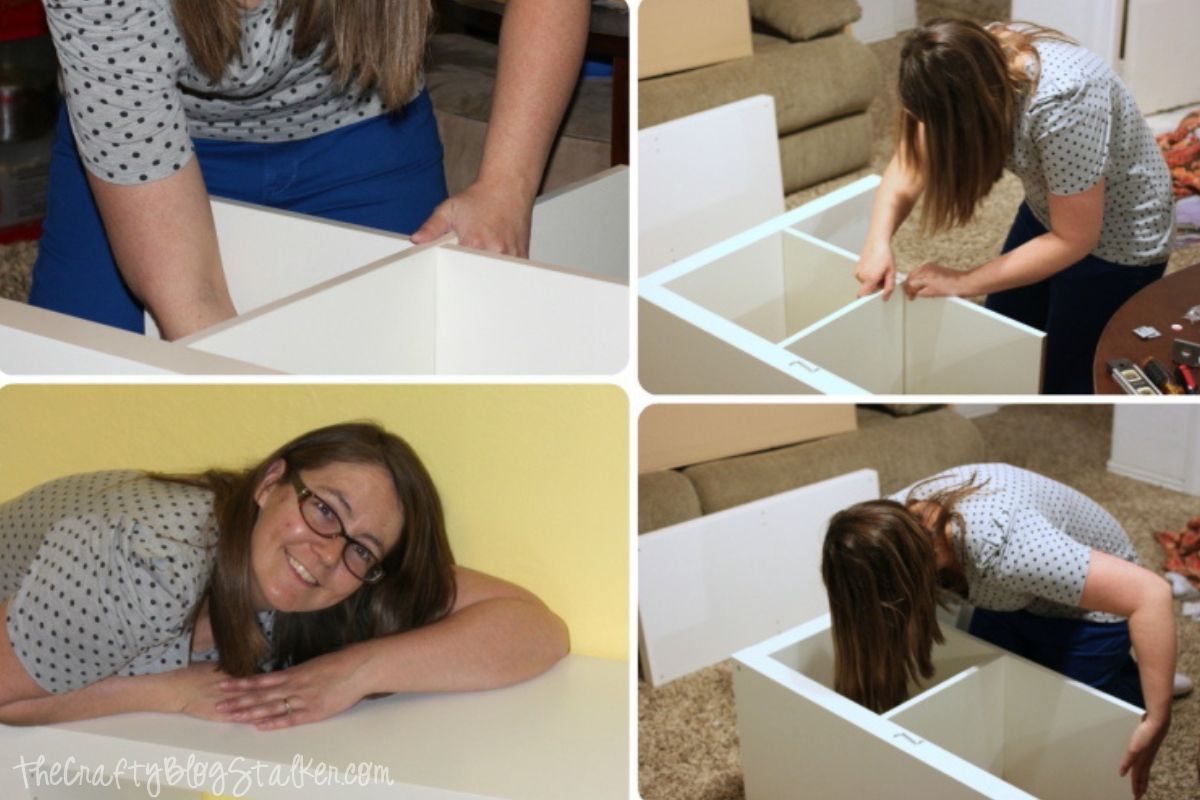
Assemble the Kallax Shelves

Assembling the shelves is really pretty straightforward. That is one of the reasons I love Ikea, they make their assembly simple.

A collage of photos showing a woman assembling KALLAX shelves, carefully securing pieces together, and happily resting on the finished structure, ready for use.

Prep the Table Top

After the three shelves were all built, we measured them to know exactly how big we wanted the top to be.

A man measures the top of a white KALLAX shelf unit with a yellow tape measure, ensuring precise dimensions for a DIY craft table or storage setup.

We decided on 32 x 72 inches. This made the top just a little bit bigger, so there would be a slight overhang, and we wouldn’t have to worry about being perfect.

We went to Lowe’s to pick out the board and decided on Oak. Vern was invaluable and even cut the board to the size we needed. I love that they do that!

A Lowe’s employee wearing safety goggles cuts a large sheet of plywood using a vertical panel saw, preparing a custom wood top for a DIY project.

Attach the Table Top

When the tabletop was FINALLY dry, we started putting it all together.

We used 2 flat brackets to secure the 2 Kallax units to each other and used 4 L brackets to secure the top to the units.

A collage of images showing a person using a drill to attach a wooden tabletop to storage units with metal brackets, securing the DIY crafting table for stability and durability.

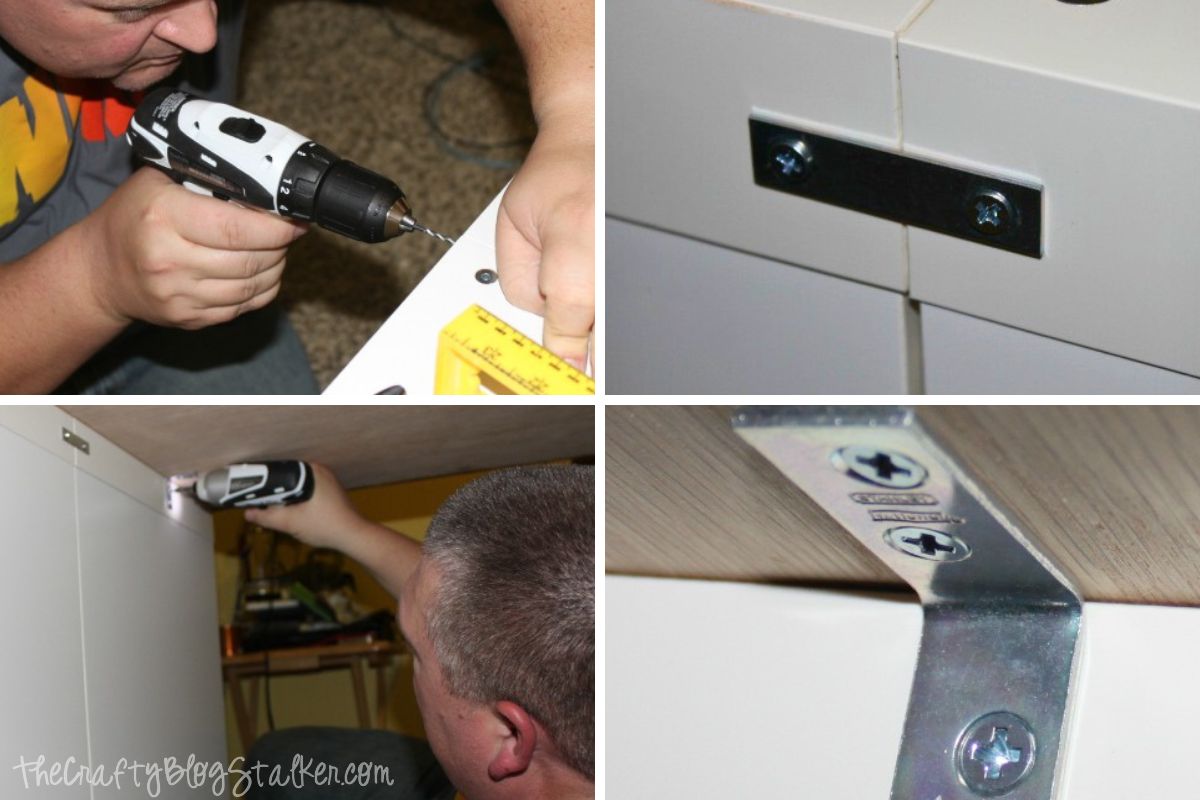
The top was pretty secure, but we wanted to ensure it wouldn’t move.

We took 4, 2 ½ screws and screwed up through the top of the shelf into the bottom of the table in the 4 corners.

More DIY Furniture Ideas

Do you want to keep building? Here are a few more fun ideas.


Source link

RELATED POSTS

Rum Punch

Cute and Easy Gender Reveal Cupcake Recipe – The Crafty Blog Stalker

20 DIY Gifts for Baby Showers – The Crafty Blog Stalker

Share296Tweet185Share74
celebritybuzzblast

celebritybuzzblast

Celebrity Buzz Blast

2024 | All Right Reserved | Celebrity Buzz Blast

Navigate Site

  • Privacy Policy
  • Terms & Conditions
  • Subscription

Contact Us: [email protected]

Social icon element need JNews Essential plugin to be activated.
No Result
View All Result
  • Home
  • Blog
  • Opinion
  • Lifestyle
  • Health
  • Culture
  • About Us
  • Contact Us

2024 | All Right Reserved | Celebrity Buzz Blast

Welcome Back!

Login to your account below

Forgotten Password?

Retrieve your password

Please enter your username or email address to reset your password.

Log In
  • Subscribe